Shape Shortcut documentation
Desk System Quick Start
This is the primary Desk System workflow: place the Board, prepare a Snap at each box position, choose one locating method, and then add a Grid Box, Organizer Box, or Round Box.
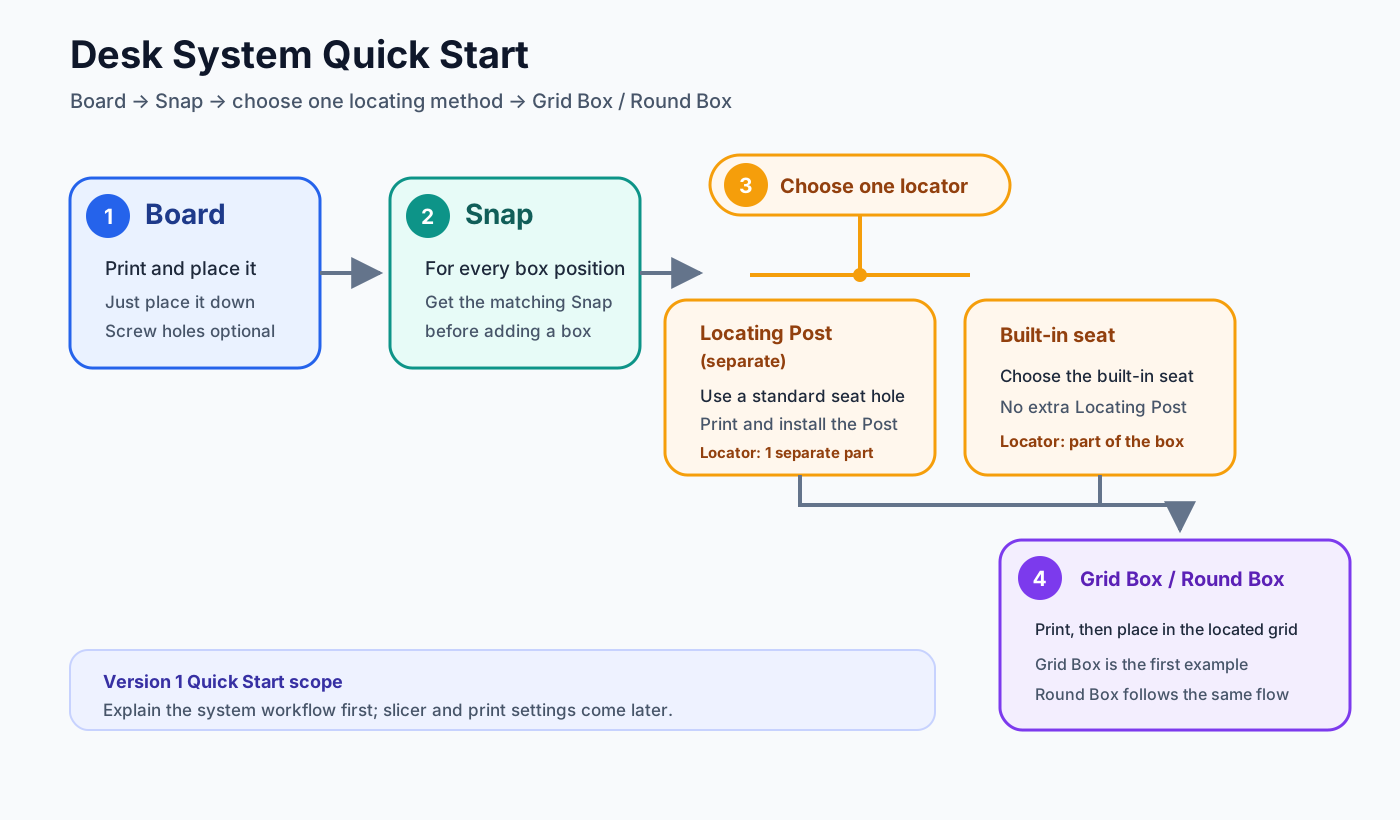
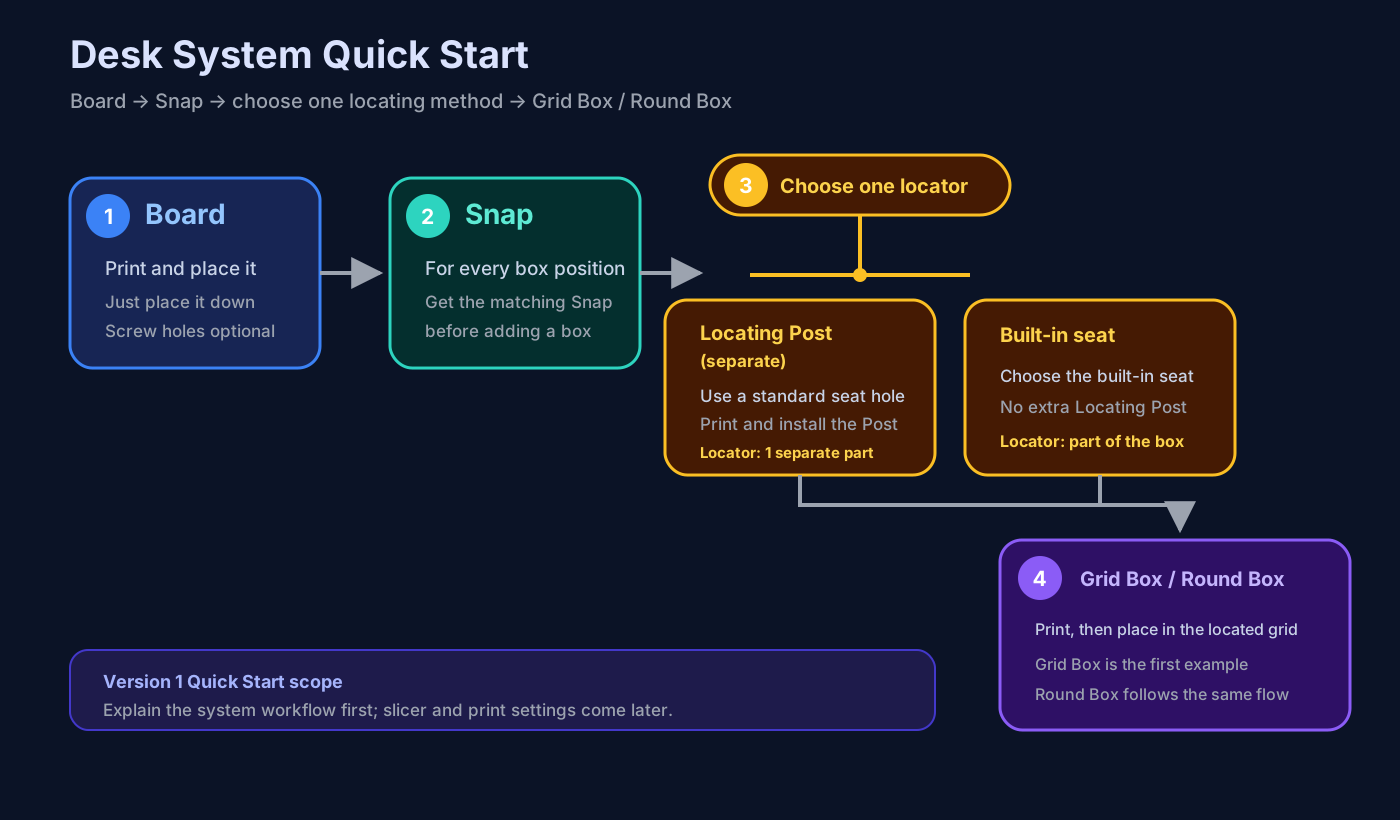
Assembly workflow
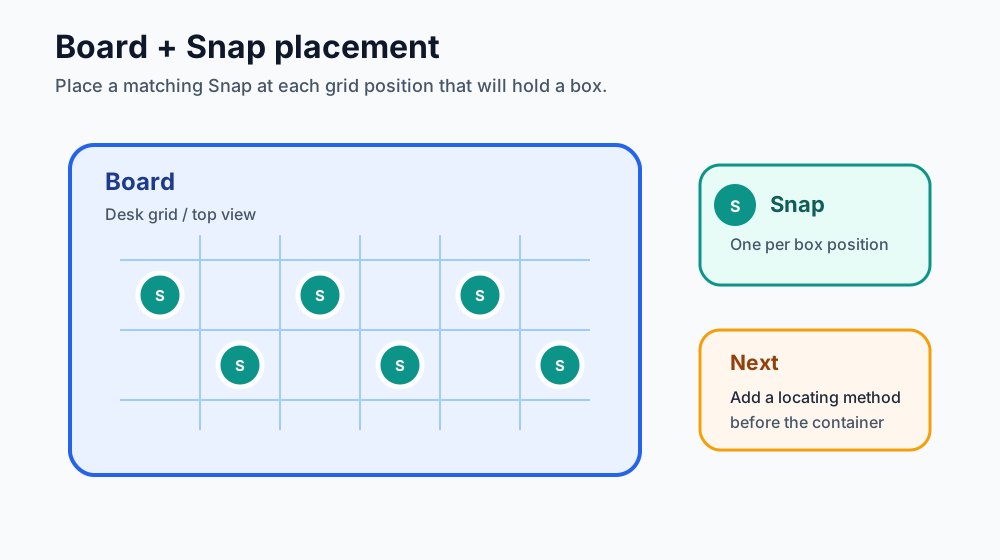
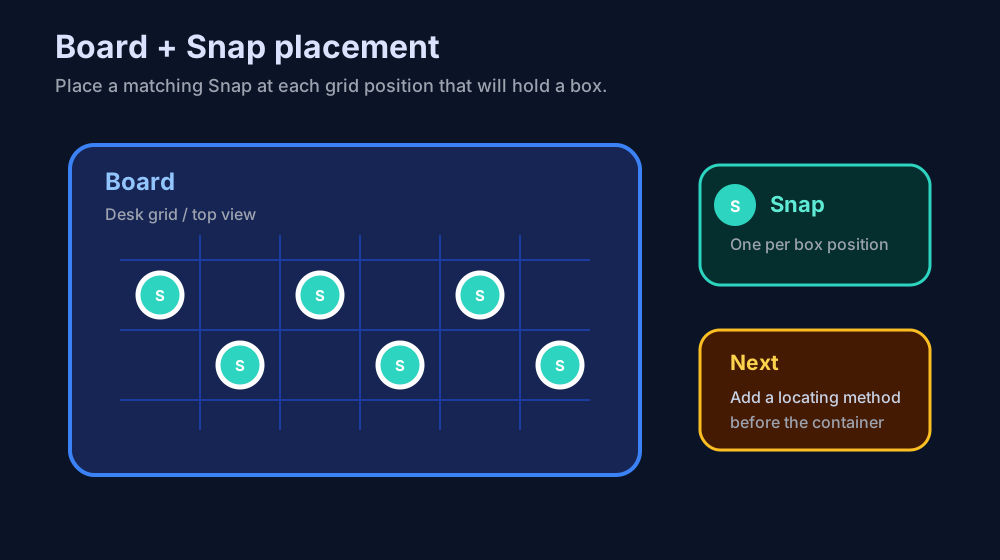
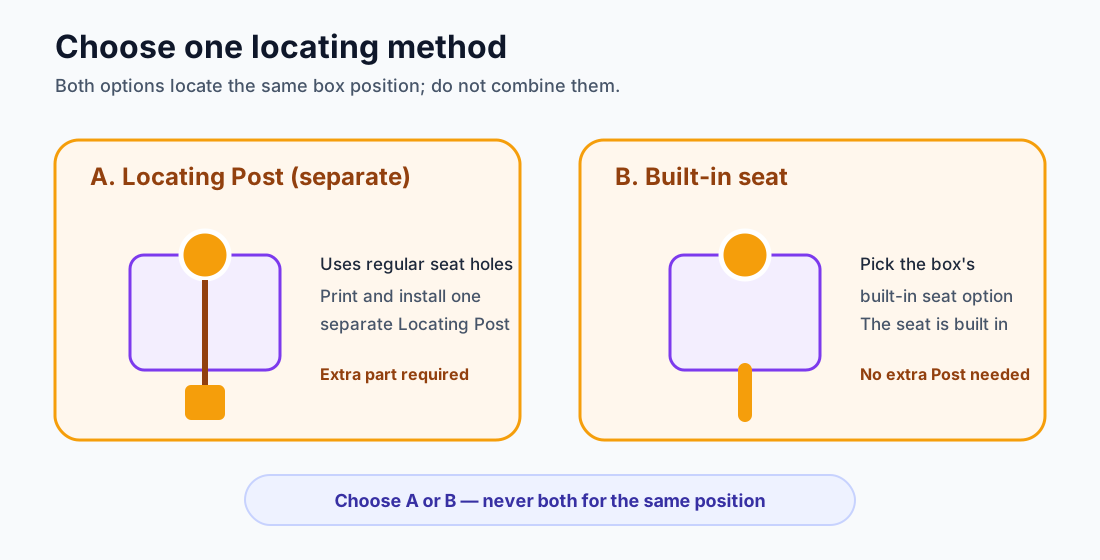
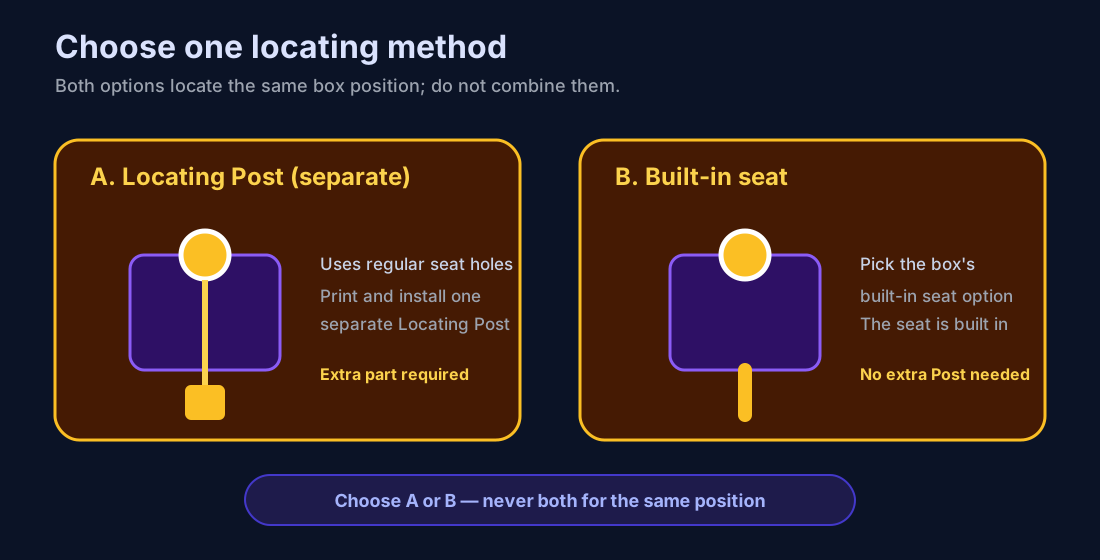
Choose one locating method
Locking corner seat (separate)
Use a locking corner-seat socket in the box, then print and install a separate locking corner seat.
Built-in seat (`內建角座`)
Choose the `內建角座` option so the locating seat is part of the box itself.
With the built-in seat selected, do not add a separate locking corner seat.
Minimum print checklist
Prepare the items below; choose either a separate locking corner seat or the built-in seat, then choose a container: Grid Box, Organizer Box, or Round Box.
- Board — Board: the Desk System base board.
- Snap — Snap: one for each box position you plan to use.
- Locking corner seat — Locating method: separate locking corner seat or built-in seat, choose one.
- Grid Box — Grid Box: the recommended first container example.
- Organizer Box — Organizer Box: store batteries or tool bits in configurable blind cavities.
- Round Box — Round Box: a secondary container using the same workflow.
First example: Grid Box
Grid Box is the first example: place it in a position with its Snap and one locating method prepared. The box seat choice determines whether an extra locking corner seat is needed.
Round Box is a secondary container option that uses the same Board → Snap → locating method workflow.
Desk System component previews
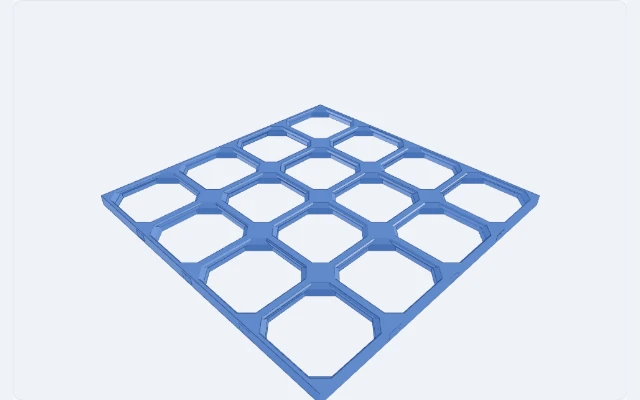 BoardOpenGrid board variants in Full, Lite, Heavy, and Hybrid profiles.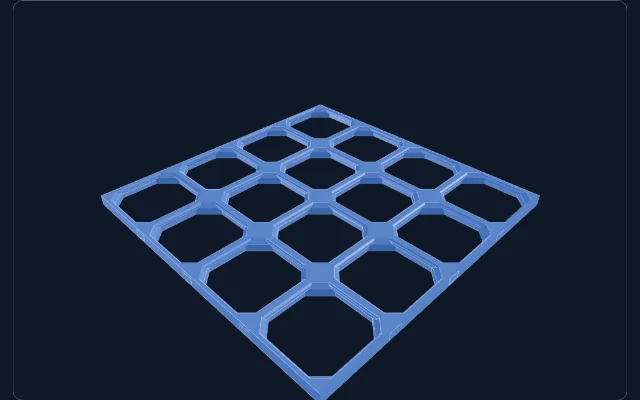
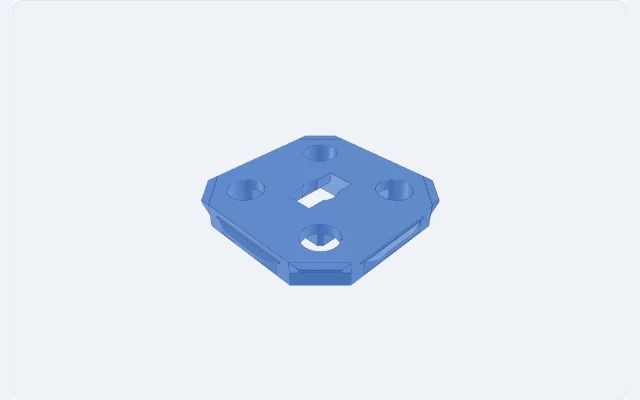 SnapOpenGrid Snap profiles with Lite/Full and Standard/Directional variants.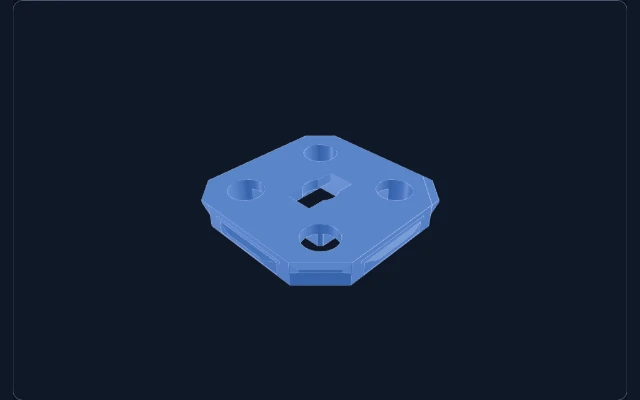
 Locking corner seatA fixed locking corner seat and an adjustable object-positioning post for OpenGrid components.
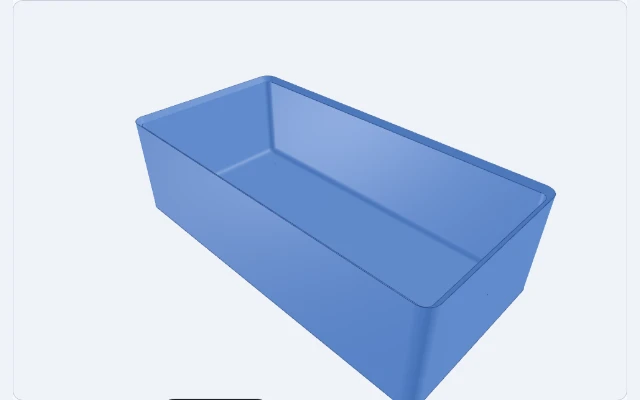 Grid BoxA stackable box with adjustable grid size, inner height, openings, and seats.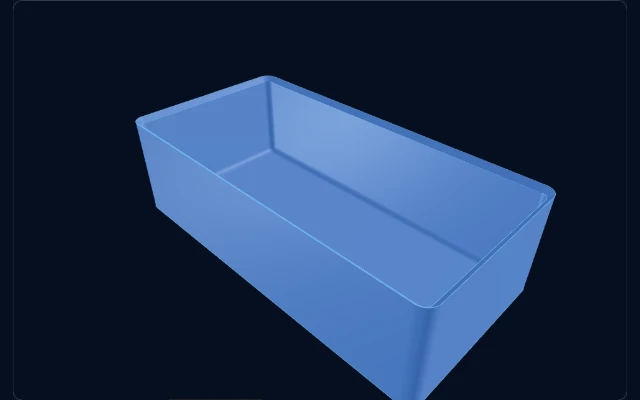
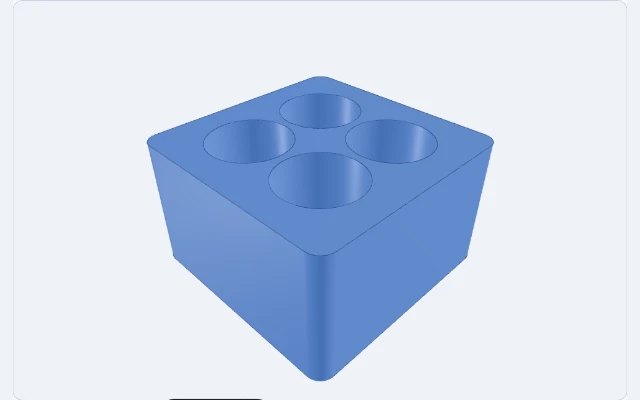 Organizer BoxA solid-top organizer with blind cavities, independent seat/body modes, and configurable cavity-to-upper-box Z clearance when stackable.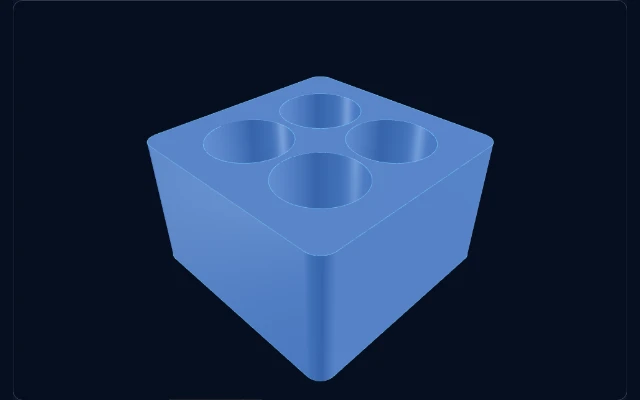
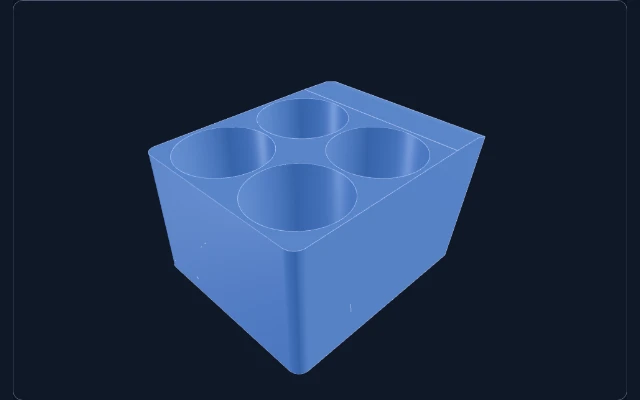
 Round BoxA stackable round box with adjustable inner diameter, height, openings, and seats.
Wall System quick reference
Wall Related models bring OpenGrid Boards, Snaps, Wall Covers, and OpenConnect Shelf into wall-mounted workflows. Start with the Board and Snap interface, then add a cover, divider, or shelf as needed.
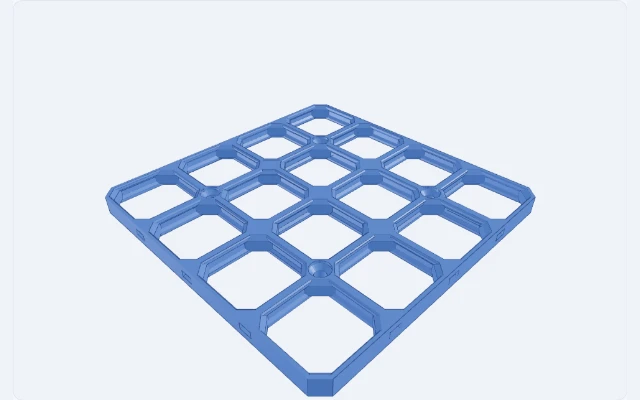
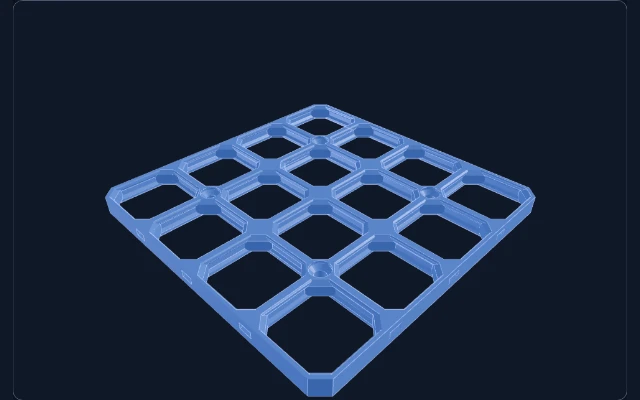
OpenGrid Wall Board
The Wall Board is the base plane for a wall layout. Adjust its grid and profile, then connect other components with matching Snaps.
Open Wall Board →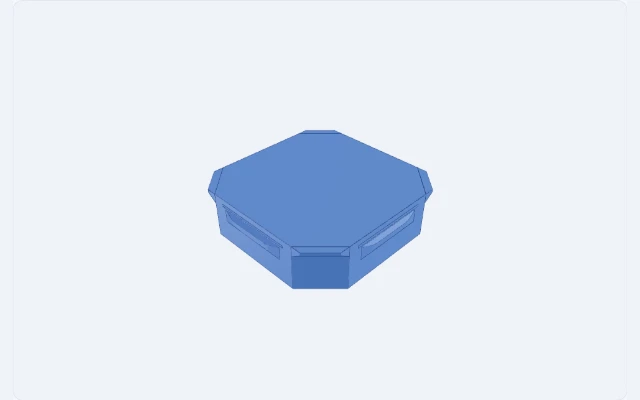
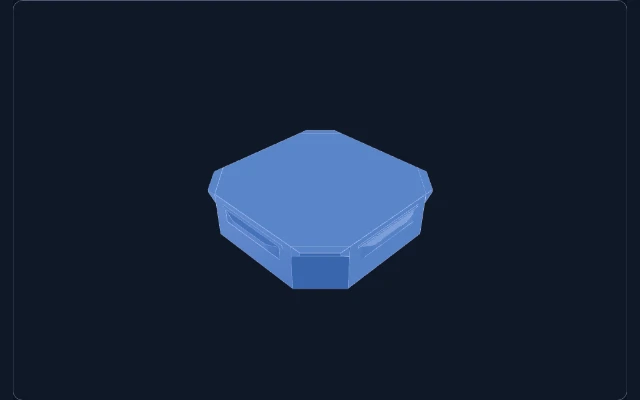
OpenGrid Wall Snap
Wall Snap provides the interface options used on a wall. Choose a variant that matches the Board and your installation approach.
Open Wall Snap →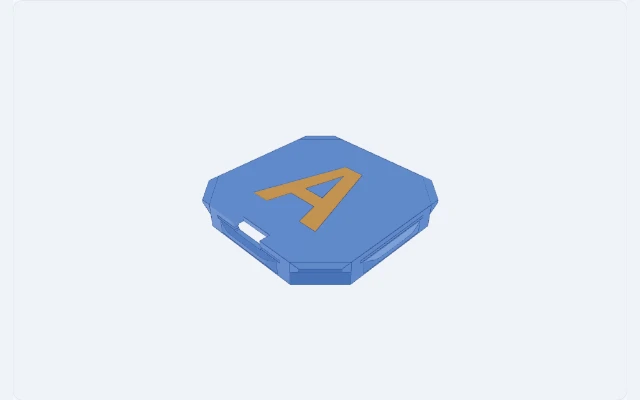

OpenGrid Wall Cover
Wall Cover is a two-color surface cover made from the supplied Snap cover STEP, useful for cleaning up the wall surface and hiding selected areas.
Open Wall Cover →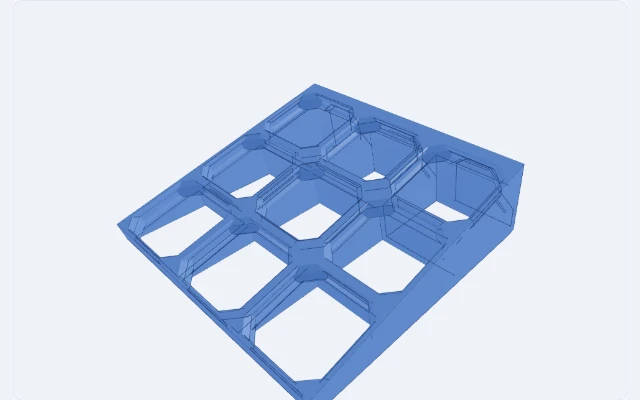
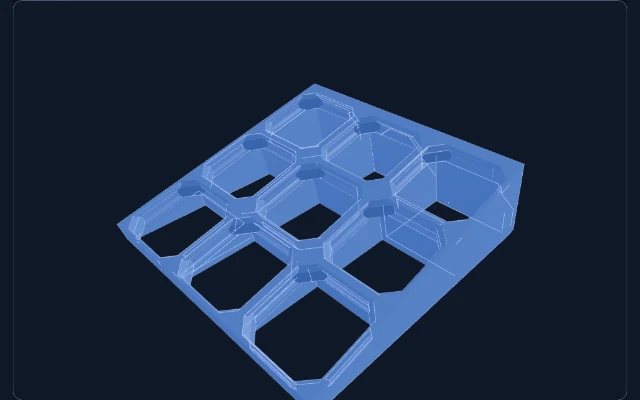
OpenConnect Shelf
OpenConnect Shelf combines a horizontal OpenGrid Full shelf with vertical OpenConnect locking sockets to form a wall shelf.
Open OpenConnect Shelf →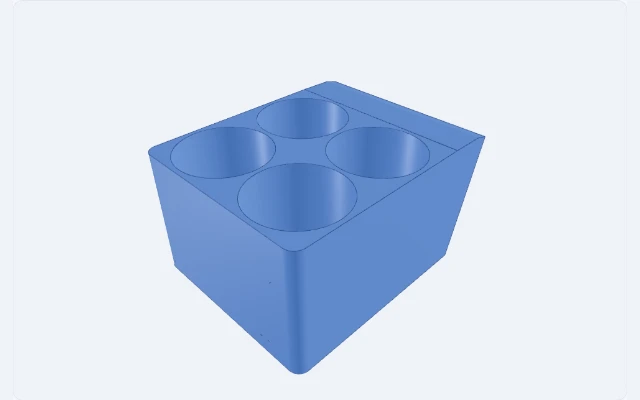
OpenConnect Wall Organizer
Mount directly with wall-parallel OpenConnect female sockets, then choose the cavity matrix, circular or 3/4/5/6-sided openings, and a forward tilt that brings the top openings toward you.
Open OpenConnect Wall Organizer →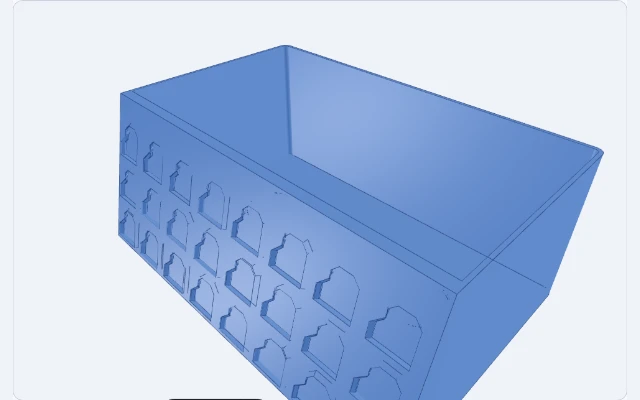
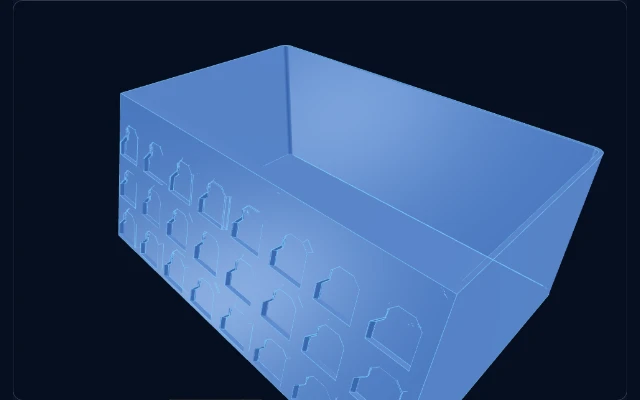
OpenGrid OpenConnect Tissue Box
Internal dimensions: X runs along the wall, Y outward, Z is cavity height; all measured along the box. Load the tissue pack upside down from the open top and dispense through the closed bottom slot. Preview and exports place the dispensing bottom flat on the print bed (Z=0). When installed, positive tilt raises the front while the mount stays upright. The rear mount ends are flush with the box top and bottom; increase internal Z if a complete socket row cannot fit. R rounds only the two outward front corners, with matching inner front rounding that consumes corner space; wall-facing rear corners are square and join the full-width rear support. The X slot must be at least 2 mm longer than its width and leave 5 mm to each internal edge. Saving perforates the front, sides, and bottom while keeping a 2 mm ring around the dispensing slot, up to 3000 cells. Defaults are editable examples.
OpenConnect Tissue BoxCurrent models and systems
The model chooser is the entry point for every currently available generator. These groups organize the main models by use case; use each model detail view and CAD workspace for exact parameters, ranges, and export formats.
Desk System
Desk Boards, Snaps, locating methods, and containers.
Wall Related
Wall Boards, Snaps, Wall Covers, and OpenConnect Shelf.
HSW
Hexagonal honeycombs and adjustable HSW columns.
Other components
CAD components that can be useful outside one system.
Shared reference
For other model purposes and adjustable parameters, use the model chooser to browse the OpenGrid and other model families. The sections below summarize shared parameter, unit, export, and browser requirements.
Parameters and constraints
Each model has its own parameter schema. The model chooser lists adjustable fields, valid ranges, and units, while the interactive workspace validates inputs live.
Units
Geometry dimensions use mm, angles use degrees, and grid/count values use cells or columns. Model IDs, parameter keys, and enum values remain locale-neutral.
Export formats
Interactive models can download STL files in the browser; OpenGrid Wall Cover also provides a two-color 3MF.
Browser requirements
The interactive CAD preview requires JavaScript, WebAssembly, Web Worker, and WebGL. Without JavaScript, this page still exposes its static instructions and reference text.
See the repository README and OpenSpec change documents for the complete architecture and acceptance rules.